Git Workflows for Team-Based Development
Git Workflows for Team-Based Development
Introduction
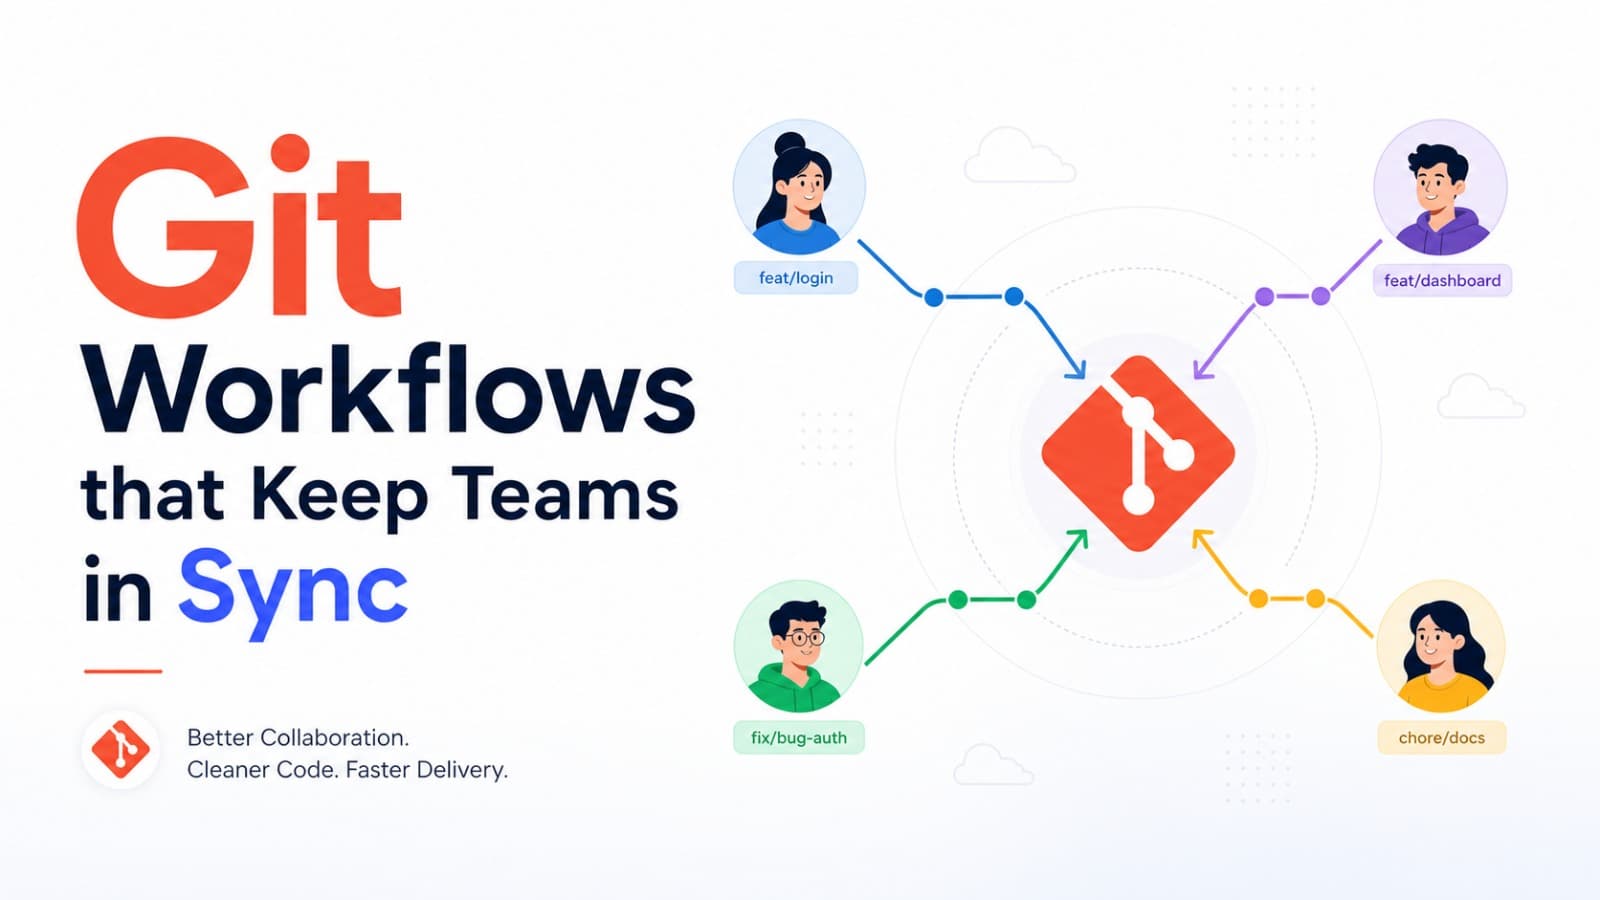
Imagine you are working on a mobile application with three other developers.
- One developer is building the login screen.
- Another is working on the backend API.
- You are developing the user profile screen.
- Someone else is fixing bugs.
All developers are working on the same project.
How do you combine everyone's work without overwriting files or breaking the application?
This is where Git workflows become important.
Git helps developers track changes, manage different versions of code, and collaborate safely.
In this blog, we will understand how teams use Git branches, commits, pull requests, code reviews, and merge strategies in real-world software development.
1. What Is Git?
Git is a distributed version control system that tracks changes in source code.
It allows developers to:
- Track code changes.
- Restore previous versions.
- Work on separate features.
- Collaborate with other developers.
- Review changes before merging.
- Resolve conflicts between different versions.
Git stores project history through commits.
A commit represents a recorded set of changes in the repository.
What Is GitHub?
Git and GitHub are not the same thing.
Git is the version control system that runs locally or on a server.
GitHub is a cloud-based platform that hosts Git repositories and provides collaboration features such as:
- Pull requests.
- Code reviews.
- Issues.
- Actions and automation.
- Project management.
Other platforms such as GitLab and Bitbucket provide similar Git hosting and collaboration capabilities.
2. Understanding a Git Repository
A Git repository contains your project files and their version history.
When you initialize Git in a project, Git starts tracking changes.
git initA simplified Git workflow looks like this:
Scroll to zoom · Drag to pan
Working Directory
This is where you create, modify, and delete project files.
Staging Area
The staging area contains changes selected for the next commit.
git add .Local Repository
The local repository stores commits and project history.
git commit -m "Add login screen"Remote Repository
The remote repository is hosted on a platform such as GitHub.
git push origin mainThe important idea is that changes do not automatically move from your working directory to GitHub.
You explicitly stage, commit, and push them.
3. What Are Git Branches?
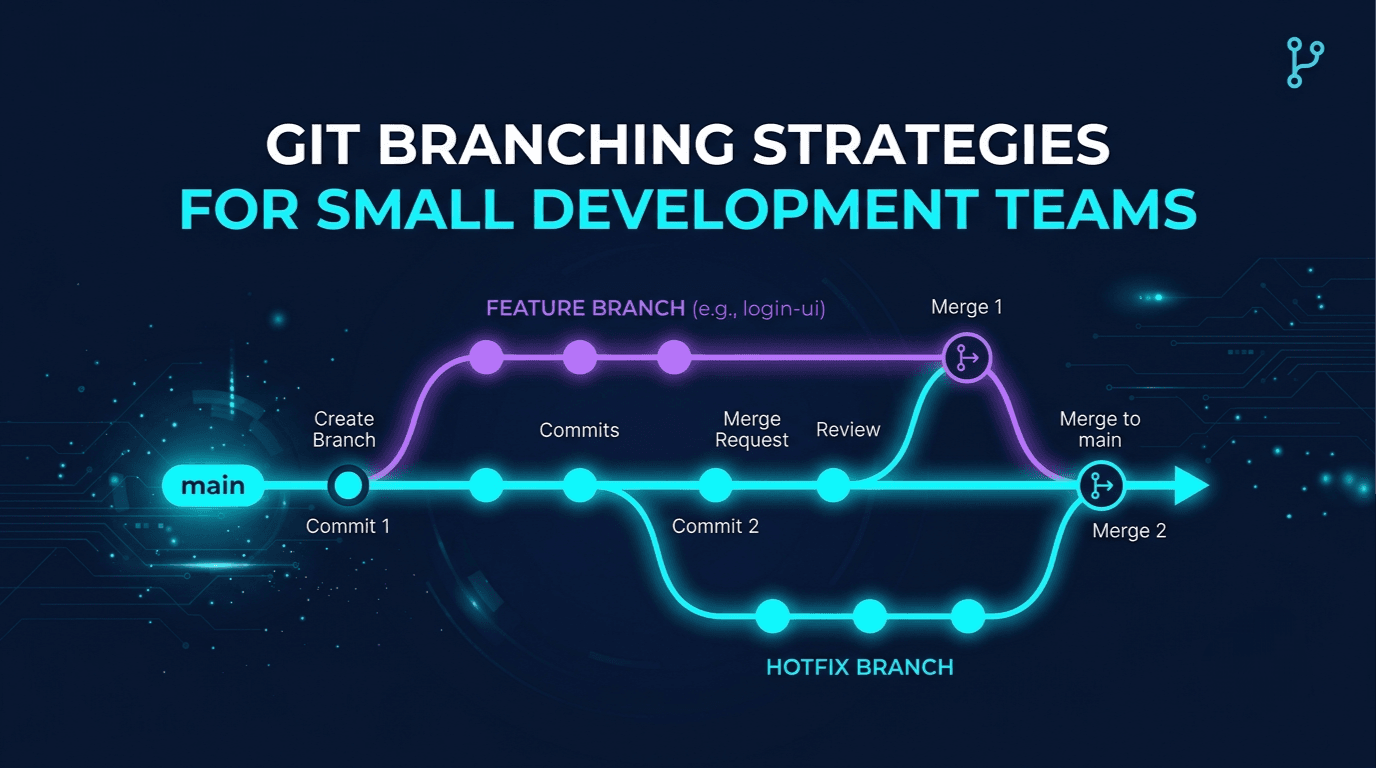
A branch is an independent line of development.
Instead of directly modifying the main codebase, developers can create separate branches for their tasks.
For example:
main
 ├── feature/login
 ├── feature/profile
 └── fix/payment-error
Each developer can work on a separate branch without directly changing the main branch.
Create a Branch
git branch feature/loginSwitch to the branch:
git switch feature/loginYou can also create and switch to a branch in one command:
git switch -c feature/loginWhy Use Branches?
Imagine your team is building an e-commerce application.
One developer is working on authentication while another is implementing checkout.
Without separate branches, unfinished code could accidentally affect the shared application.
Branches provide isolation between tasks.
They also make it easier to review and test changes before merging them.
4. Understanding Common Branching Strategies
Different teams use different branching strategies depending on project size and release requirements.
1. GitHub Flow
GitHub Flow is a simple branching workflow commonly used by teams that deploy frequently.
The general process is:
- Start from the main branch.
- Create a feature branch.
- Make changes and commit them.
- Push the branch to the remote repository.
- Open a pull request.
- Review and test the changes.
- Merge the branch into main.
- Deploy the application when appropriate.
Scroll to zoom · Drag to pan
Example:
git switch main
git pull origin main

git switch -c feature/user-profile

# Make changes

git add .
git commit -m "Add user profile screen"

git push -u origin feature/user-profile
Now you can open a pull request on GitHub.
Best for: Small and medium-sized teams with continuous integration and frequent releases.
2. Git Flow
Git Flow is a more structured branching model designed around release management.
It commonly uses:
main– Production-ready code.develop– Integration branch for upcoming work.feature/*– New features.release/*– Preparing a release.hotfix/*– Urgent production fixes.
Scroll to zoom · Drag to pan
Example branch names:
main
develop
feature/user-authentication
feature/payment-integration
release/1.0.0
hotfix/payment-failure
Best for: Projects with scheduled releases and multiple supported versions.
Git Flow is not necessary for every project. Its additional branches can create overhead for teams that deploy continuously.
3. Trunk-Based Development
In trunk-based development, developers integrate small changes into a shared main branch frequently.
Short-lived branches may be used, but they are merged quickly.
Scroll to zoom · Drag to pan
Teams often use feature flags to keep unfinished functionality hidden from users.
Best for: Teams practicing continuous integration and frequent deployment.
5. What Is a Pull Request?
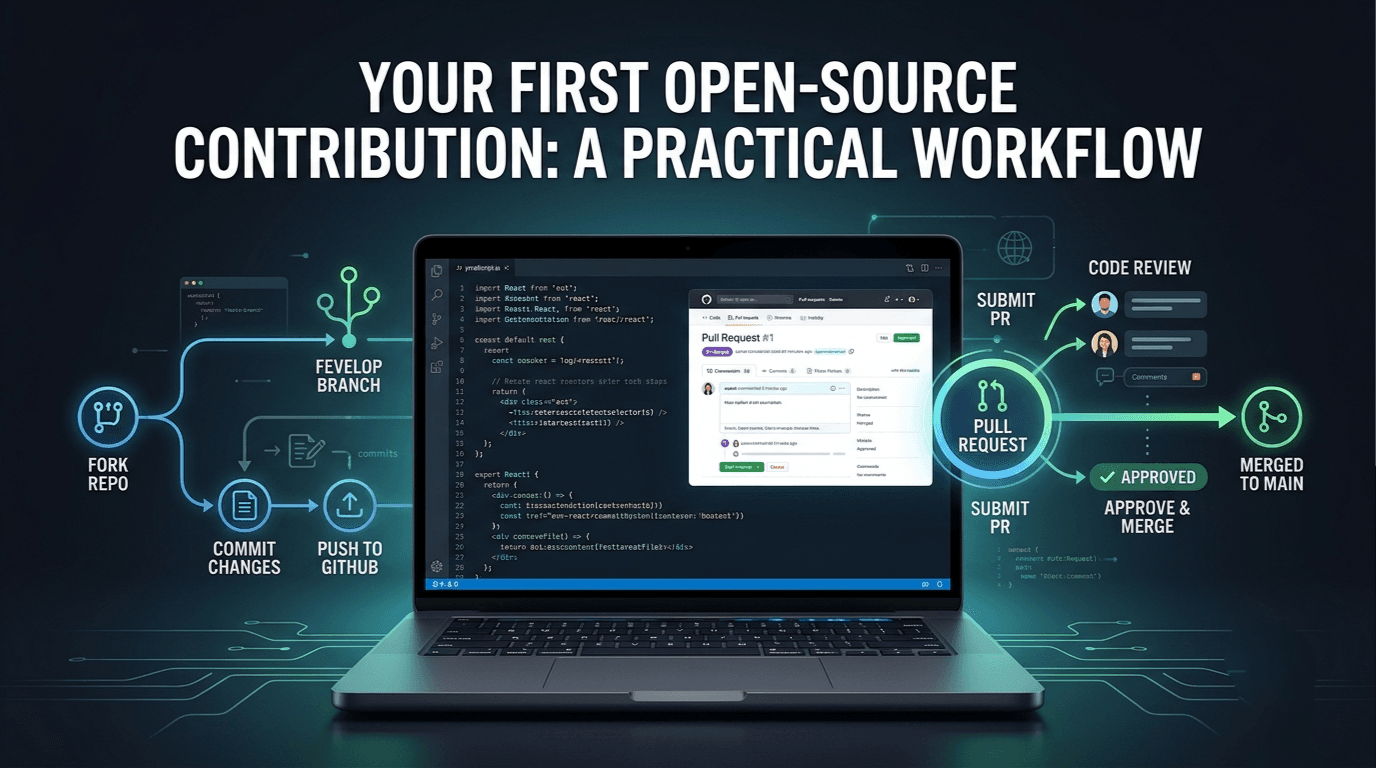
A pull request (PR) is a request to merge changes from one branch into another.
It allows developers to review proposed changes before they become part of the shared codebase.
For example:
Source branch: feature/login
Target branch: main
A developer pushes the login feature and opens a pull request.
Other team members can:
- Review the code.
- Suggest improvements.
- Ask questions.
- Identify bugs.
- Run automated checks.
- Approve the changes.
Once the required checks and approvals are complete, the branch can be merged.
Typical Pull Request Workflow
Scroll to zoom · Drag to pan
A pull request is not simply a way to merge code.
It creates a discussion and review process around changes.
6. How to Create a Pull Request
Let's understand the practical process.
Assume you have created a feature branch:
git switch -c feature/user-profileAfter implementing the feature, check your changes:
git statusStage the required files:
git add .Create a commit:
git commit -m "Add user profile screen"Push the branch:
git push -u origin feature/user-profileNow open your GitHub repository.
- Navigate to the Pull Requests section.
- Select New Pull Request.
- Choose
feature/user-profileas the source branch. - Choose
mainas the target branch. - Add a title and description.
- Create the pull request.
Example Pull Request Description
## Summary

Added the user profile screen.

## Changes

- Added profile UI.
- Integrated user details API.
- Added loading and error states.
- Added profile image support.

## Testing

- Tested profile loading.
- Tested API failure handling.
- Verified on Android.

## Screenshots

Attach relevant screenshots here.
A good pull request description helps reviewers understand what changed and why.
7. Understanding Code Reviews
A code review is the process of examining another developer's code before merging it.
The purpose is not just to find mistakes.
It also helps maintain code quality and share knowledge across the team.
What Should You Check During a Code Review?
1. Correctness
Does the code solve the intended problem?
2. Readability
Can another developer understand the implementation?
3. Maintainability
Is the code easy to modify later?
4. Performance
Are there unnecessary API requests, loops, or expensive operations?
5. Security
Are sensitive values protected? Is input validated?
6. Testing
Are important cases covered?
Good Code Review Comments
Instead of writing:
Bad code. Fix this.Write something more useful:
Could we extract this API request into the
service layer? This would keep the component
focused on UI logic and make the request easier
to reuse and test.
Good reviews are respectful, specific, and focused on improving the code.
8. What Are Merge Conflicts?
A merge conflict occurs when Git cannot automatically combine changes from different branches.
Imagine two developers modify the same line of a file.
Developer A changes:
const message = "Hello User";Developer B changes:
const message = "Welcome Back";When Git tries to combine both changes, it may not know which version should be kept.
This creates a merge conflict.
How Does a Conflict Look?
<<<<<<< HEAD
const message = "Hello User";
=======
const message = "Welcome Back";
>>>>>>> feature/welcome-message
These markers indicate conflicting sections.
How to Resolve a Merge Conflict
- Open the conflicted file.
- Understand both changes.
- Decide which version should remain.
- Remove the conflict markers.
- Save the file.
- Test the result.
- Stage and commit the resolution.
For example:
const message = "Welcome Back";Then:
git add src/message.js
git commit -m "Resolve message merge conflict"
The correct resolution depends on the intended application behavior. Do not blindly select one side just to remove the conflict.
9. Keeping Your Feature Branch Updated
While you are working on a feature, other developers may merge changes into the main branch.
Your branch can become outdated.
You should regularly integrate the latest changes.
Option 1: Merge
git switch main
git pull origin main

git switch feature/user-profile
git merge main
This creates a merge commit when necessary and preserves the branch history.
Option 2: Rebase
git switch feature/user-profile
git fetch origin
git rebase origin/main
Rebase moves your feature commits onto the latest base commit.
It can create a cleaner, linear history.
However, it rewrites commit history. Avoid rebasing shared branches that other developers are already using unless your team has agreed on that workflow.
If conflicts occur during a rebase:
# Resolve the conflicts, then:
git add .
git rebase --continue
To cancel the rebase:
git rebase --abortMerge vs Rebase
| Merge | Rebase |
|---|---|
| Preserves branch history | Rewrites commit history |
| May create merge commits | Creates a linear history |
| Useful for shared branches | Useful for local feature branches |
| Does not rewrite existing commits | Changes commit identities |
Neither approach is universally better. Follow the conventions used by your team.
10. Choosing a Good Commit Message
Commit messages explain why a change was made.
Poor commit messages make project history difficult to understand.
Avoid:
update
fix
changes
final
new code
Prefer:
feat: add user authentication
fix: handle expired access tokens
refactor: extract API client
docs: update installation guide
test: add login validation tests
A common convention is Conventional Commits.
Typical prefixes include:
| Prefix | Purpose |
|---|---|
feat | New feature |
fix | Bug fix |
docs | Documentation |
refactor | Code restructuring |
test | Test-related changes |
chore | Maintenance tasks |
perf | Performance improvement |
Example:
git commit -m "feat: add offline order synchronization"Clear commit messages make it easier to understand project history and generate release notes.
11. Protecting the Main Branch
The main branch usually contains stable or production-ready code.
Teams should prevent accidental direct changes to it.
GitHub provides branch protection and repository rulesets.
Common protections include:
- Require pull requests before merging.
- Require successful status checks.
- Require code review approvals.
- Require conversations to be resolved.
- Restrict force pushes.
- Restrict branch deletion.
A typical workflow looks like this:
Scroll to zoom · Drag to pan
These rules help prevent unreviewed or broken changes from entering the main branch.
12. Automating Git Workflows with GitHub Actions
GitHub Actions allows developers to automate tasks whenever events occur in a repository.
For example, you can run tests whenever someone opens or updates a pull request.
Create this file:
.github/workflows/ci.ymlExample workflow for a Node.js project:
name: Node.js CI

on:
  pull_request:
    branches:
      - main

jobs:
  test:
    runs-on: ubuntu-latest

    steps:
      - name: Checkout repository
        uses: actions/checkout@v4

      - name: Setup Node.js
        uses: actions/setup-node@v4
        with:
          node-version: 22
          cache: npm

      - name: Install dependencies
        run: npm ci

      - name: Run tests
        run: npm test
Now GitHub Actions can run the configured tests for pull requests targeting main.
You can extend the workflow with:
- ESLint.
- TypeScript type checking.
- Unit tests.
- Build verification.
- Security scanning.
- Deployment jobs.
For production use, review and pin third-party actions according to your organization's security policy.
13. A Practical Team Workflow Example
Let's put everything together.
Imagine three developers are building a React Native application.
Project: ApnaMart

Developer A:
feature/authentication

Developer B:
feature/product-list

Developer C:
feature/order-tracking
Each developer follows the same process:
Step 1: Get the latest code
git switch main
git pull origin main
Step 2: Create a feature branch
git switch -c feature/order-trackingStep 3: Implement the feature
Make the required changes in the project.
Step 4: Test the implementation
Run tests and verify the feature locally.
Step 5: Commit changes
git add .
git commit -m "feat: add real-time order tracking"
Step 6: Push the branch
git push -u origin feature/order-trackingStep 7: Open a pull request
Request review from another team member.
Step 8: Resolve review comments
Make the required changes and push additional commits.
Step 9: Merge the pull request
After required checks and approvals pass, merge into the target branch.
Step 10: Clean up
Delete the feature branch after merging if it is no longer needed.
git switch main
git pull origin main
git branch -d feature/order-tracking
This process keeps development organized and makes collaboration easier.
14. Common Git Mistakes to Avoid
1. Working Directly on Main
Use feature branches for isolated changes and follow your team's review process.
2. Committing Everything Without Checking
Use:
git status
git diff
Review your changes before staging and committing.
3. Writing Meaningless Commit Messages
Use clear messages that explain the purpose of the change.
4. Pushing Secrets to GitHub
Never commit:
.envfiles containing secrets.- Private API keys.
- Database passwords.
- Private certificates.
- Access tokens.
Use .gitignore and rotate credentials immediately if they are accidentally exposed.
5. Ignoring Remote Changes
Fetch or pull the latest changes regularly to reduce integration surprises.
6. Force Pushing Shared Branches
Force pushing can overwrite remote history and disrupt teammates.
Use it carefully and only when the team workflow permits it.
7. Creating Huge Pull Requests
Keep pull requests focused and reasonably small.
They are easier to review, test, and maintain.
15. Practical Git Command Cheatsheet
| Command | Purpose |
|---|---|
git init | Initialize a repository |
git clone URL | Clone a repository |
git status | Check working tree status |
git add . | Stage changes |
git commit -m "message" | Create a commit |
git branch | List local branches |
git switch branch-name | Switch branches |
git switch -c branch-name | Create and switch branches |
git fetch | Download remote references |
git pull | Fetch and integrate remote changes |
git push | Push commits to remote |
git merge branch-name | Merge a branch |
git rebase branch-name | Rebase onto another branch |
git log --oneline | View compact commit history |
git stash | Temporarily save working changes |
git diff | View unstaged changes |
Conclusion
Git is more than a tool for saving code. It is an essential part of modern software development and team collaboration.
A good Git workflow helps developers:
- Work independently without disturbing others.
- Review changes before merging.
- Maintain a clean project history.
- Resolve conflicts safely.
- Automate testing.
- Protect important branches.
Remember this basic team workflow:
Create Branch → Make Changes → Commit → Push → Open Pull Request → Review → Merge
You do not need a complicated branching strategy for every project.
Start with a simple workflow, communicate with your team, and keep your changes small and reviewable.